Grounding Tips: Finding Peace in the Present Moment

Grounding Tips: Finding Peace in the Present Moment


Hey there, friends! Today, I want to share with you some grounding techniques that have been absolute lifesavers for me on my journey of healing and self-discovery. Life's twists and turns can leave us feeling a little lost and disconnected from ourselves, but these simple exercises can help bring us back to the present moment and soothe our souls.

5-4-3-2-1 Technique

Let’s start with the 5-4-3-2-1 technique. This powerful exercise engages all your senses, grounding you in the here and now. Take a moment to notice:

  • 5 things you can see: Look around and observe the world around you. Notice the small details that often go unnoticed.

  • 4 things you can feel: Tune into the sensations in your body. Feel the ground beneath your feet, the texture of your clothing, and the warmth of the sun on your skin.

  • 3 things you can hear: Listen closely to the sounds of your environment. The gentle hum of traffic, the rustle of leaves, the rhythm of your own breath.

  • 2 things you can smell: Take a deep breath and inhale the scents around you. Maybe it’s the aroma of freshly brewed coffee or the fragrance of blooming flowers.

  • 1 thing you can taste: Pop a piece of gum or a small snack into your mouth and savor the flavors. Let it awaken your senses.


Categories

Next up, let’s get creative with categories! Choose a few categories from the list below and name as many items as you can in each one. It’s a fun exercise that gets your mind engaged and focused on the task at hand.

Movies Countries Books Cereals Sports Teams Animals Colors Cities Cars TV Shows Fruits & Vegetables Famous People


Body Awareness

Another fantastic grounding technique is body awareness. Take a moment to connect with your physical sensations:

1. Take 5 long, deep breaths through your nose, and exhale through puckered lips.

2. Place both feet flat on the floor. Wiggle your toes. Curl and uncurl your toes several times. Spend a moment noticing the sensations in your feet.

3. Stomp your feet on the ground several times. Pay attention to the sensations in your feet and legs as you make contact with the ground.

4. Clench your hands into fists, then release the tension. Repeat this 10 times.

5. Press your palms together. Press them harder and hold this pose for 15 seconds. Pay attention to the feeling of tension in your hands and arms.

6. Rub your palms together briskly. Notice and sound and the feeling of warmth.

7. Reach your hands over your head like you’re trying to reach the sky. Stretch like this for 5 seconds. Bring your arms down and let them relax at your sides.

8. Take 5 more deep breaths and notice the feeling of calm in your body.


Mental Exercises

Lastly, let’s explore some mental exercises that can help redirect your thoughts and calm your mind:

• Name all the objects you see.

• Describe the steps in performing an activity you know how to do well. For example, how to shoot a basketball, prepare your favorite meal, or tie a knot.

• Count backwards from 100 by 7.

• Pick up an object and describe it in detail. Describe its color, texture, size, weight, scent, and any other qualities you notice.

• Spell your full name, and the names of three other people, backward.

• Name all your family members, their ages, and one of their favorite activities.

• Read something backwards, letter-by-letter. Practice for at least a few minutes.

• Think of an object and “draw” it in your mind, or the air with your finger. Try drawing your home, a vehicle, or an animal.


I hope you find these grounding techniques as helpful as I have! Remember, in moments of stress or anxiety, taking a moment to ground yourself can make all the difference. Stay present, stay grounded, and most importantly, stay kind to yourself.

Until next time,

Accalia Carter

How to pose like a model when you're not

How do the cover models do it?

A knock-out photo time and time again?

Well, genetics help ( yes) but so does knowing how to pose for photos, tricks of the trade that can help turn you into the version of you you’ve always wanted.

So in order to prevent you from cringing at yet another picture of yourself, we have collected these tips with the help of the experts so you can take a good photo well before the camera clicks.

1) Before the shoot -

Get some “R&R” take it easy, no tricks here get some rest. The best photos are moments. So just be in them, and relax. Get a good night’s sleep, and don’t eat too much the night before either. You want to be as fresh as you can be. If possible do yoga or meditate before.

2) Posture, hair, shave, and clothes -

Are 4 main things to consider when preparing for your photograph to be taken. No matter how you want to look be it smart or rugged, all of these things are easy to do, but the thought and preparation before a shoot are difficult to fix at the last minute. It goes without saying a fresh hairstyle and a clean shave will make you look more presentable but the clothes you wear are often overlooked pieces of the jigsaw when it comes to preparing for a photo shoot.

3) What to do with your face:

One thing that may make one side better than the other is a must hide the blemish. To hide a double chin, or even just to prevent one showing up that isn’t there push your chin out a little bit down. This will also make the jaw look more angular. Do not pull it back as this tends to be why double chins show up in photos. An elevated camera angle will also help here, and not facing the camera squarely, as doing so can cause a face to widen, while a little bit of a turn helps create a more flattering look. When smiling try to keep your tongue behind your teeth and to the roof of your mouth. This keeps the smile controlled, prevents a gummy smile, and can lift the face while tightening the area underneath your chin.

4)When taking selfies-

Hold the camera as far away from your face as possible, especially if you’ve got a prominent snout.

5) What to do with your body:

Just get comfortable, if it feels weird, it probably looks like it. As mentioned early, maintaining posture is also key. Keep your chest broad, shoulders back, and pinch your shoulder blades together to prevent hunched over shoulders. Looking over your shoulder with your back towards the camera is flattering for everyone it shows a good jawline and angle for the face. Avoid creating parallel lines though, such as standing with arms by one’s sides. It is rigid and unflattering.

Flattering Tips for Women Posing for Photos

When shooting women there are a few tips that I find I use on almost every client, big or small, as we for the part all struggle with body image at some point in our lives. Shooting body conscious is something I do all the time because the clients love how the images make them feel without photoshop or editing.

Below is an example of one pose, micro-changes, on 3 different women.


So here are a few tips to help you know I got you, I will coach and direct you the entire time.

1) Never pose a woman square to the camera:

When females are posing we want a slim, feminine look. Some poses bring this out others do the opposite. It’s not the size of the lady it’s more about how they are positioned. For example, positioning a lady square will make her look wider. A better choice is to have her turn her body away from the camera by about 2/3 while keeping her face straight towards the camera.

2) Shoot from slightly above:

Shooting from slightly above your model will help to define the chin and jawline. The camera should always be at least above eye level- never below it. Works amazingly for curvy gals.

3) Go for a strong jawline:

A strong jawline without a double chin is one of the main features of women. Shooting from above is one, also have a lower chin, next press your tongue to the roof of your mouth while smiling. It feels weird, but it lengthens the neck, accents the jawline, and helps avoid double chins or brings your head forward, like a turtle.

4) A mouth slightly open -

How your mouth looks will make or break a photo. Tight lips look angry, boredom, and defiant. A mouth slightly open with lips just apart, also helps elongate the jawline and lends much more pleasant energy to the photo.

5) Careful with the hands-

A person’s hands are almost the same size as their face, for that reason, it is important to avoid having the palms or backs of the hands in full view near the face. Instead place hands to the side, under the chin, or over the shoulder. Also important to not have the hands pressing against anything. Make sure the fingers are slightly apart, curved, and only just touching the hair or face.

6) Create space-

Create a gap between the arm and body with any pose to create space between the arms, legs, and body. Pressing the arms to your body is unflattering, and makes arms look thicker than they are. Create visible space between the arms and the body, bend the elbows, hand on the hip.

Stay tuned for more.

At Home Hand/Foot Spa Day

Do you have dry hands or feet? Maybe you have a few callouses? When I did papers years ago I would have hands and sometimes feet that were cracked and would bleed at times because they were so dry. Here are a few at-home tips and tricks I used when needed.

  1. Coconut oil cuticle hydrator:

Skincare expert Mega Brame-Finkelstein turns to coconut oil for extra nourishment on dry cuticles. The heavy oil provides long-lasting moisture. Simply rub a small amount on each fingertip and swath with plastic wrap to let it sink in.

2. Exfoliating baking soda foot soak:

a simple foot soak of baking soda and water will do the trick. Dr. Jaliman says “the baking soda treats calluses because it is abrasive and helps loosen dead skin.”

recipe": add a ratio of 1/2 cup of baking soda for every gallon of warm water in a shallow tub and stir until the powder dissolves. sit back and relax, soaking feet for about 30 minutes. Rinse away the baking soda and pat feet dry before applying lotion or foot cream and slipping on a pair of cotton socks.


Try these out let me know how you like them.

Here is a few more blogs to check out if you like this one:

Spa days

Face masks

Natural oils....


Power posing, and what is it?

It’s a confidence-building technique used by some of the most successful people on the planet!

There’s even a TED Talk all about it — led by body language specialist, Amy Cuddy.

In her TED Talk, she pointed out how ‘low’ power poses (like hunching your shoulders, folding in your arms, crossing your legs) can often lower self-worth and increase feelings of stress…

Whereas practicing ‘high’ power poses (like standing up tall and taking up space) can help you instantly feel more self-assured and assertive.

And if this is sounding a bit ‘woo woo’ to you — there’s actually a science to back it up.

See, Cuddy and her team conducted a study to put high vs. low power poses to the test.

First, they measured 42 volunteers’ testosterone levels (the “dominance” hormone) and their cortisol levels (the “stress” hormone”).

And then, each volunteer was asked to hold either a low or high power pose for 2 minutes.

Once the 2 minutes were up, they retested their testosterone and cortisol levels, and amazingly:

High power poses increased testosterone by 20% and decreased cortisol levels by 25%!

So how do you do it?

It’s an easy trick that can instantly boost your mood, self-confidence, and outlook for the rest of the day...

And the best part is — it takes seconds. Ready?

First step: Head over to your closest full-length mirror.

Step two: Put your hands on your hips, roll your shoulders back, puff out your chest a bit, and hold your chin up high.

Step three: Take a deep breath — and on your exhale, say one thing you love about yourself out loud.

Did you feel your mood shift?

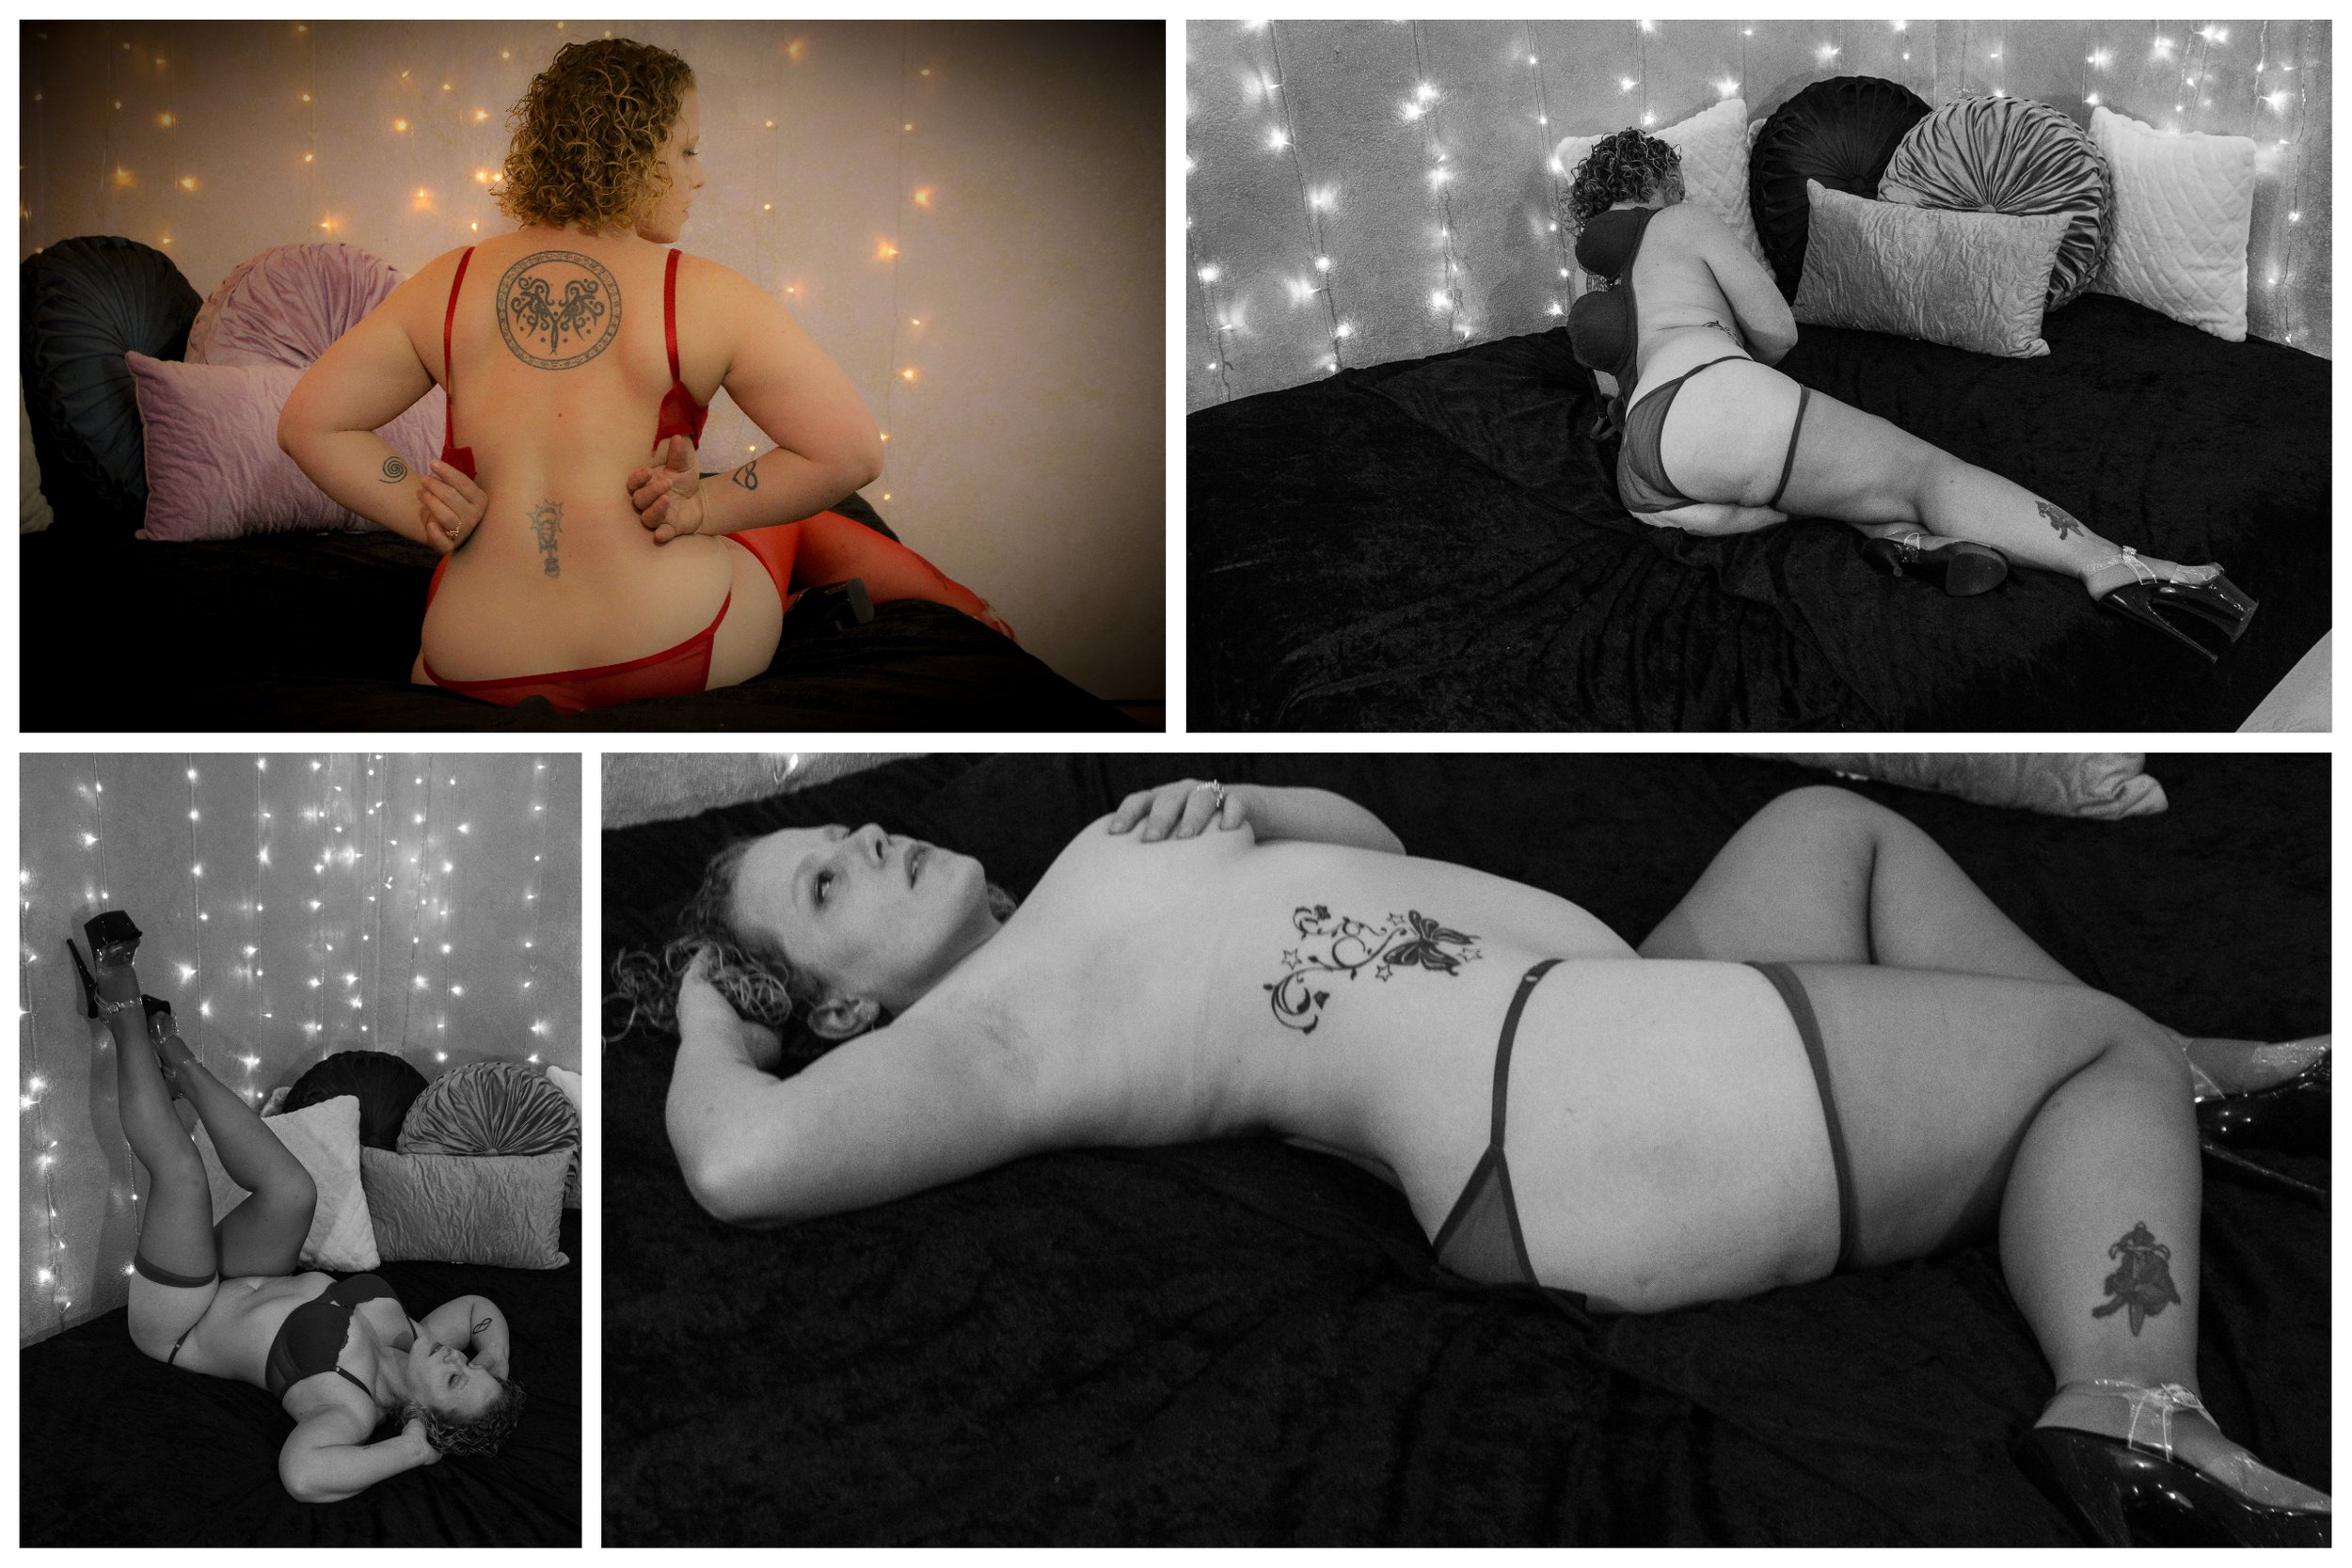
I know I do when I stand in a power pose, and you know what my clients love the images of their power poses too!! Below are so examples of some power poses tweaked for Boudoir, the clients loved how these came out too.

3 at Home Face Masks for Glowing, Healthy Skin

Who doesn’t love an at-home spa day, I know I do. I have always loved facials and hot baths for soaking. So, I have found some easy-at-home facials, which I thought I would share with you all today.


1) Anti-aging cocoa face mask-

A decadent antioxidant-packed cocoa skin a restored, youthful appearance. “As skin ages, the moisture barrier begins to break down leading to dryness and the immunity layer of skin weakens. Hydration is the most important skin saver at this stage!” says skincare expert Jasmina Aganonic.

Recipe: combine 1 tablespoon cocoa powder, 1 tablespoon sour cream, 1 tablespoon honey, and 1 egg white. Apply to face and let dry, then rinse.

The powerful ingredients make this a multi-tasking wonder cream: a sour cream is a form of lactic acid that hydrates as it gently exfoliates; honey is a humectant that boosts hydration while the protein in the egg white tightens and firms skin.


2) Wrinkle- Fighting Papaya Face Mask:

A secret recipe for ageless skin is a mask made with fresh papaya, Greek yogurt, and other nutritious ingredients. it’s recommended to apply your usual face moisturizer after rinsing. The alpha hydroxyl acids in papaya works as a natural exfoliator; the egg whites are high in protein and help rebuild the skin and tighten pores.

Recipe: Blend half of the fresh papaya ( seeds removed and dried), 1 tablespoon plain Greek yogurt, 1 tablespoon white tea (brewed and cooled), 1 tablespoon fresh lemon juice, and one organic egg white in a food processor (or use a fork) unit it forms a paste. Apply to face and neck; relax for 20 to 30 minutes before rinsing with lukewarm water.

3)Exfoliating Sugar Face Scrub:

Sweeten up your at- home beauty routine with a honey and sugar face scrub. “This home made exfoliant helps to nourish skin while sloughing off dead cells.” says Arelli Soriano. If you have sensitive skin, it can be too harsh.

Recipe: Mix half cup brown sugar and 3 tablespoons of honey in a small bowl and stir until a think paste forms. Add two tablespoons of an oil of your choice (olive, almond, or coconut) and blend until it integrates with the paste to make a little lighter. Spread the paste all over clean skin,- face, neck, and decollate. Leave it on for five-ten minutes and rinse with warm water. you can use leftover scrub on the whole body for the same result.

Here are some more At home Spa Day Ideas:

https://www.boushiebabesphotography.com/blog/end-of-season-rescue-facial

7 Tips for Building Confidence and Self-esteem

Self-confidence is tricky to master, and many of us don’t have it. Lack of confidence can arise from things like fears, being unsure about what you believe, or feeling like you are not good enough at something. All these are issues people go through every day.

Not being confident in oneself arises from self-limitations, fear, and self-doubts. The only way to beat these problems is to change your mental attitude and build your self-esteem.

Here are some tips:

  1. Overcome your self-limiting beliefs to build self-esteem:

Kids are typically enthusiastic and confident. But then doubt sets in as they transition into adulthood. To build confidence is to push past these self-limiting beliefs. Expose yourself to uncomfortable situations to find your limits. Once you get used to such things, you will see what your boundaries are self-imposed and what you can accomplish is unlimited.

2. To Boost Confidence, Accept your Memories are not Always Accurate:

Our brain is selective, and creates biased memories, so, not everything you remember is a representation of facts. Start to accept this and revisit self-limiting memories, to get a correct perspective. It could be a lie you tell yourself about success or a wrong assumption about how people see you.

3. Practice Positive Self-Talk to Improve your Self-Image:

We say an average of 1000 words every minute to ourselves. Though it may seem absurd, talking to yourself is very beneficial. It improves memory, helps manage stress, builds self-respect, and boosts positive self-esteem. Strengthening your self-perception by speaking positively to yourself can also influence your neurobiological responses. See problems as challenges that you can overcome.

4. Beat Negative Bias with a Positive Mindset and Self-confidence:

We all have a natural negativity bias that keeps us safe from danger. To overcome look for the good stuff. For every negative thought, come up with 5 positive ones. Allow each positive thought to linger for 20 seconds before the next. Recognize both good and bad feelings. Don’t ignore or support your negative emotions, even if it is easier to do than to address them. Acknowledge and move on.

5. Work on Self- Doubts

Low self-esteem leads to doubts and a victim mentality.-feeling like your life is at the mercy of everyone else but you. No one is stopping except you so, get real and assess where you have doubts and break those walls down.

6. Conquer Your Fears-

fear comes from not being in control, when you are not in control you feel scared. When you hold a level of command over something the fear fades away. Denial or avoidance does not overcome it. Fear is emotional, not rational.

7. Be More Curious-

Curiosity is a must-have for anyone who wants to be successful and confidant in themselves. Being curious means that you are observant of the world around you, willing to learn, and open to new experiences. A curious person can achieve life-long growth and development.

I know when I implement these into my life, my view looks better, my world is brighter and less scary. Self-esteem and Self- confidence have one thing in common the self!!! So, invest some time into you today.

10 tips to improve your self-esteem

To be frank self-esteem is your opinion of yourself and your abilities, you can high, low, or somewhere in the middle. While we all have doubts, low-self-esteem can leave you feeling insecure and unmotivated. So, if you’re wondering how to improve your self-esteem here are some tips:

  • Be nice to yourself: tell your bitchity cricket to shut up! Make an effort to be nice to yourself. Progress not perfection.

  • You do you: Stop comparing yourself to others, that’s a sure way to feel shitty.

  • Get movin: exercise is a great way to increase motivation, practice setting goals and build confidence. Breaking a sweat also cues the body to release endorphins, the feel good stuff.

  • No one’s perfect: Progress over perfection, baby steps are better than no action.

  • Remember you are human: Everyone makes mistakes. Mistakes help you learn and grow.

  • Focus on what you can change: It’s easy to focus on things out of your control, won’t get you anywhere. Instead, focus on things that you can control.

  • Do what makes you happy: If you spend time doing things you enjoy, you’re more likely to be more positive and upbeat.

  • Celebrate the small stuff: You got up. You had breakfast… Celebrate the small victories is a great way to build confidence and self-esteem.

  • Be a friend: Being helpful and considerate to others, will certainly boost their mood and yours.

  • Surround yourself with a supportive tribe: Find people who make you feel good about yourself and avoid those who tend to trigger your negative thinking.

I have used and still use most of these tips myself, at first you won’t feel much, but over time it becomes so much more, as you build yourself up, as within so without, things change. It’s not one days efforts, but many days of baby steps small actions that get us thru. More tips soon.

What in the world do you pack for a shoot?

Well, I know how it feels to already be doing something out of your comfort zone, then having to think did I pack everything? So, I took the things I ask my clietn’s to pack, and things that can be just helpful. I want you to have the best shoot regardless of type or photographer.